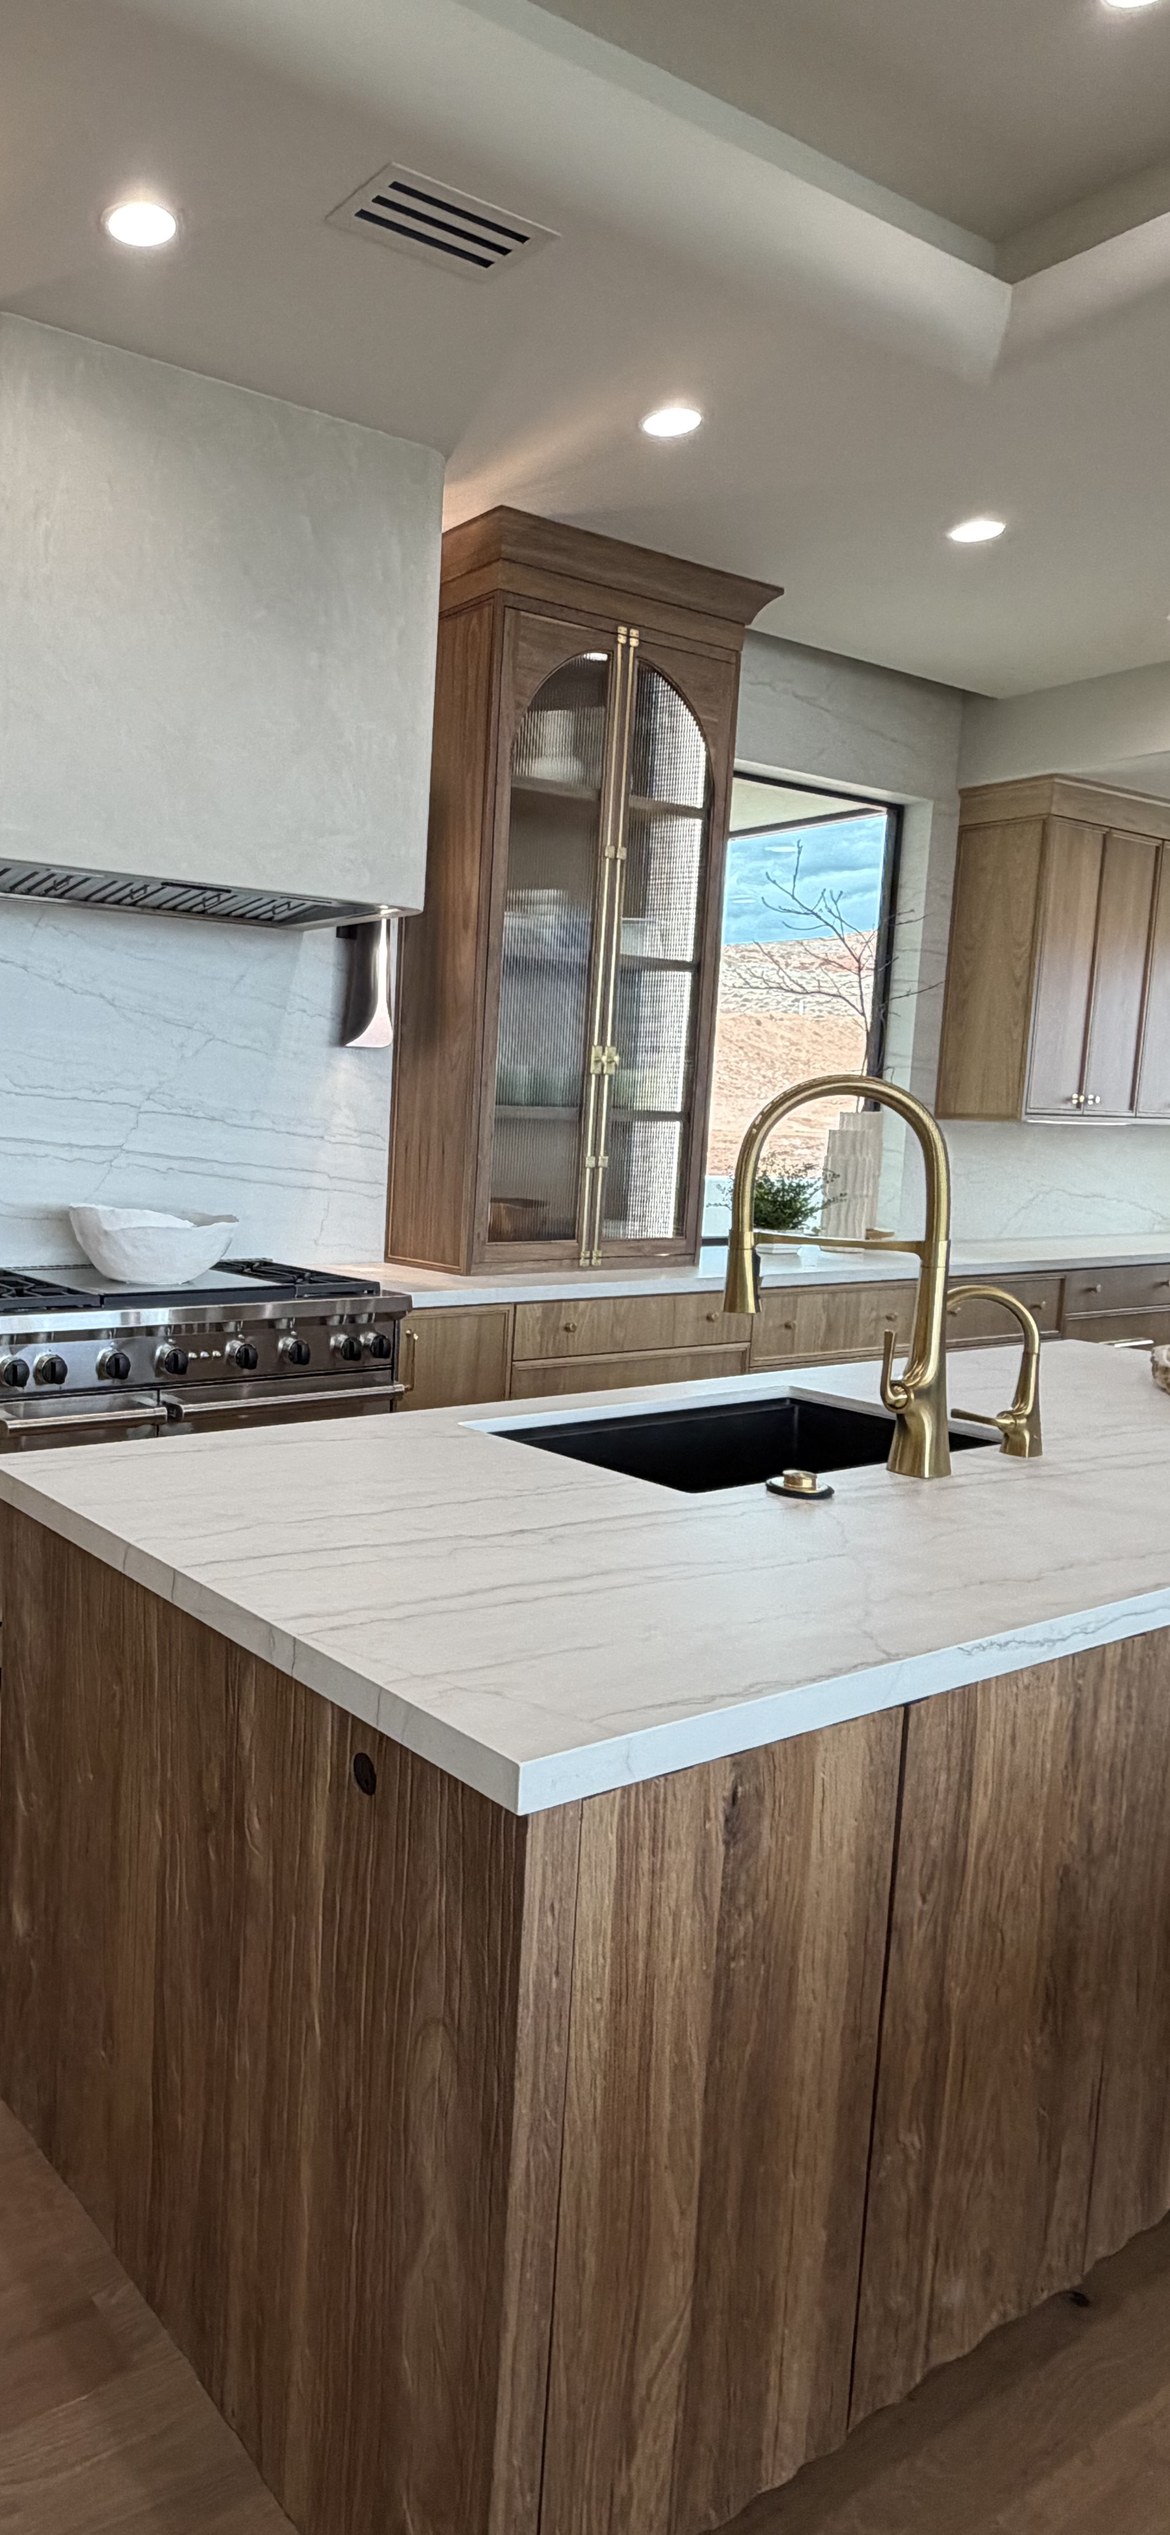
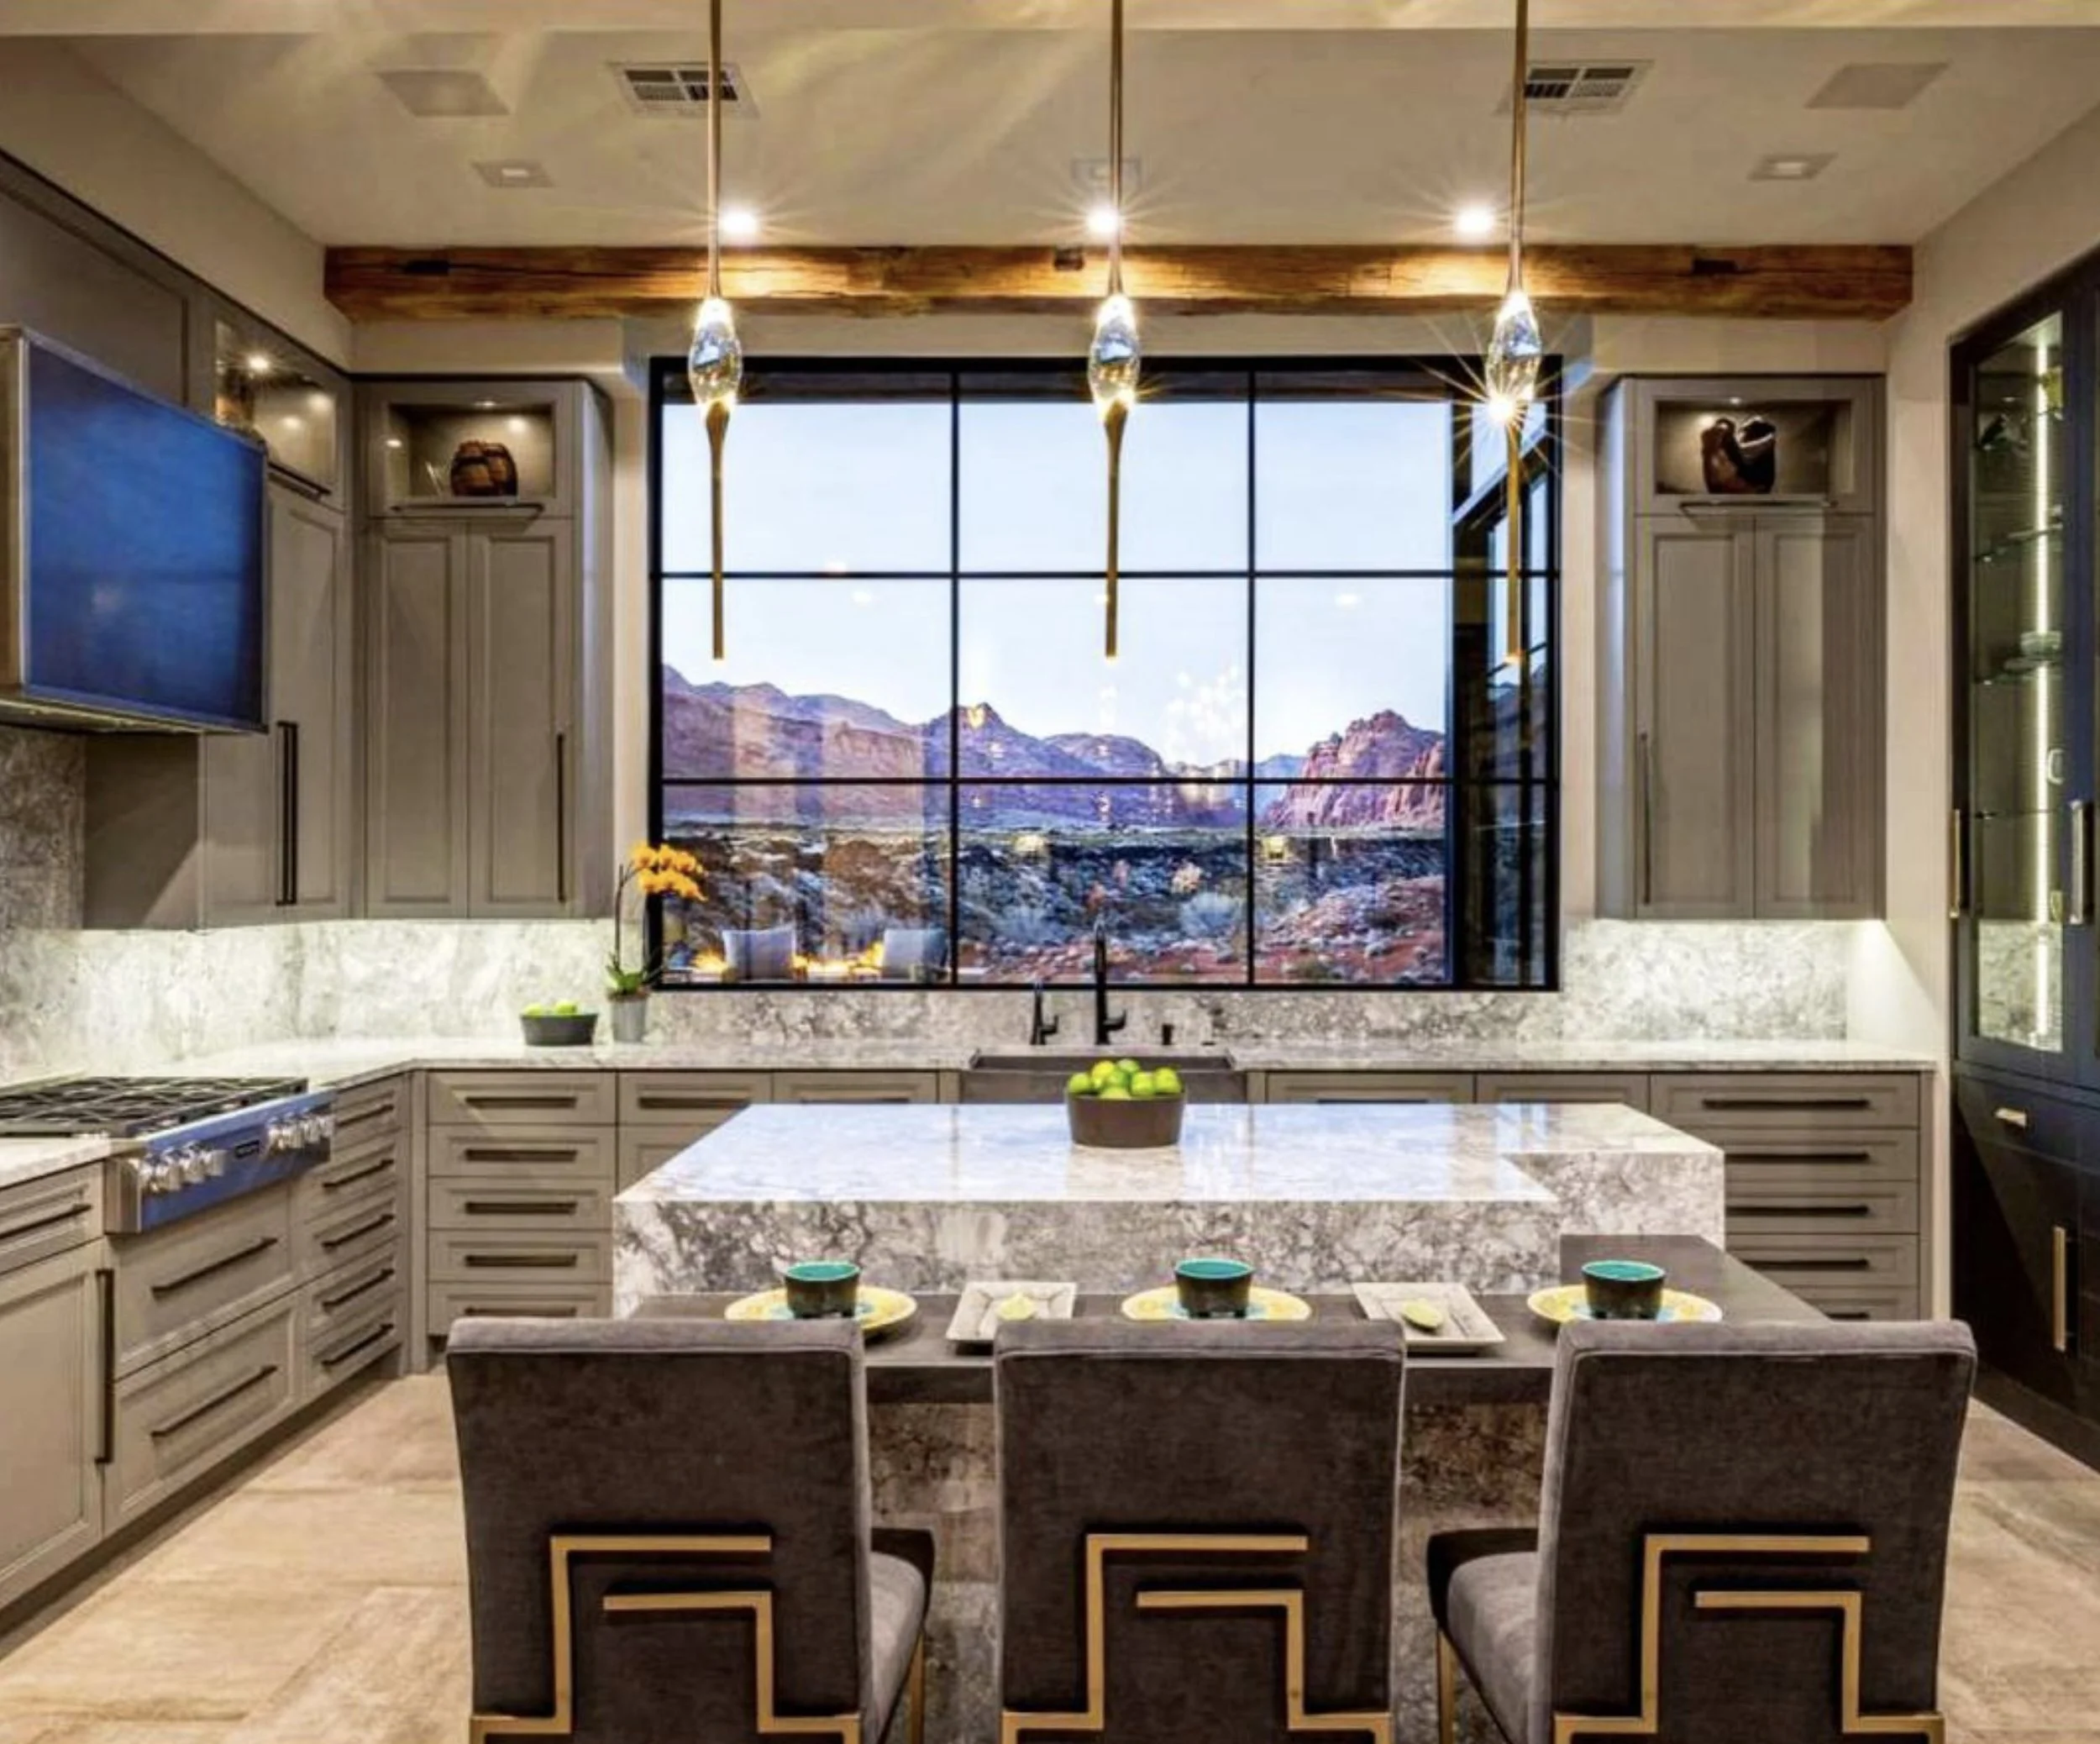
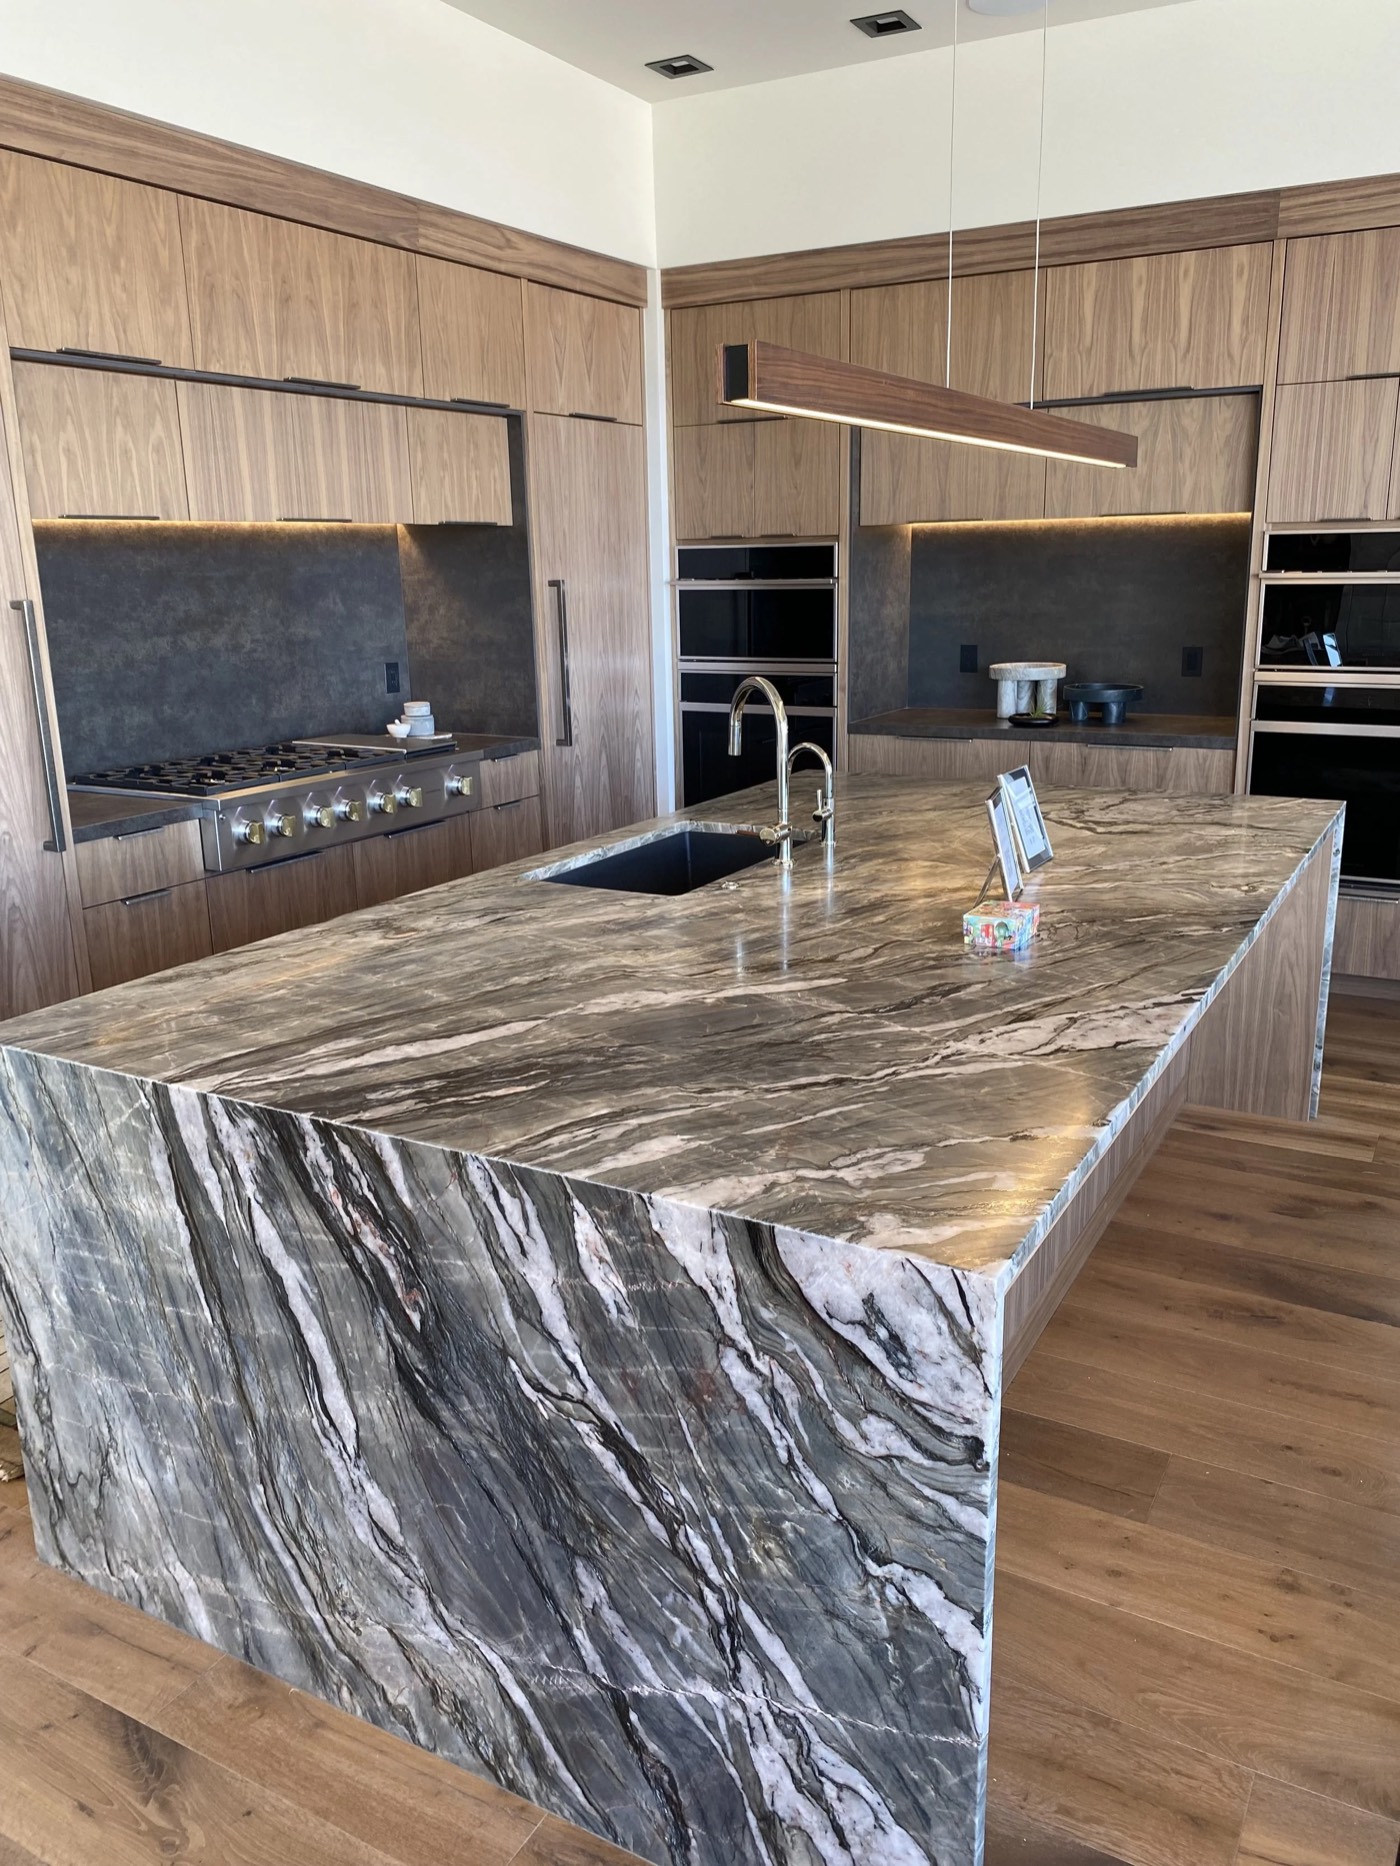
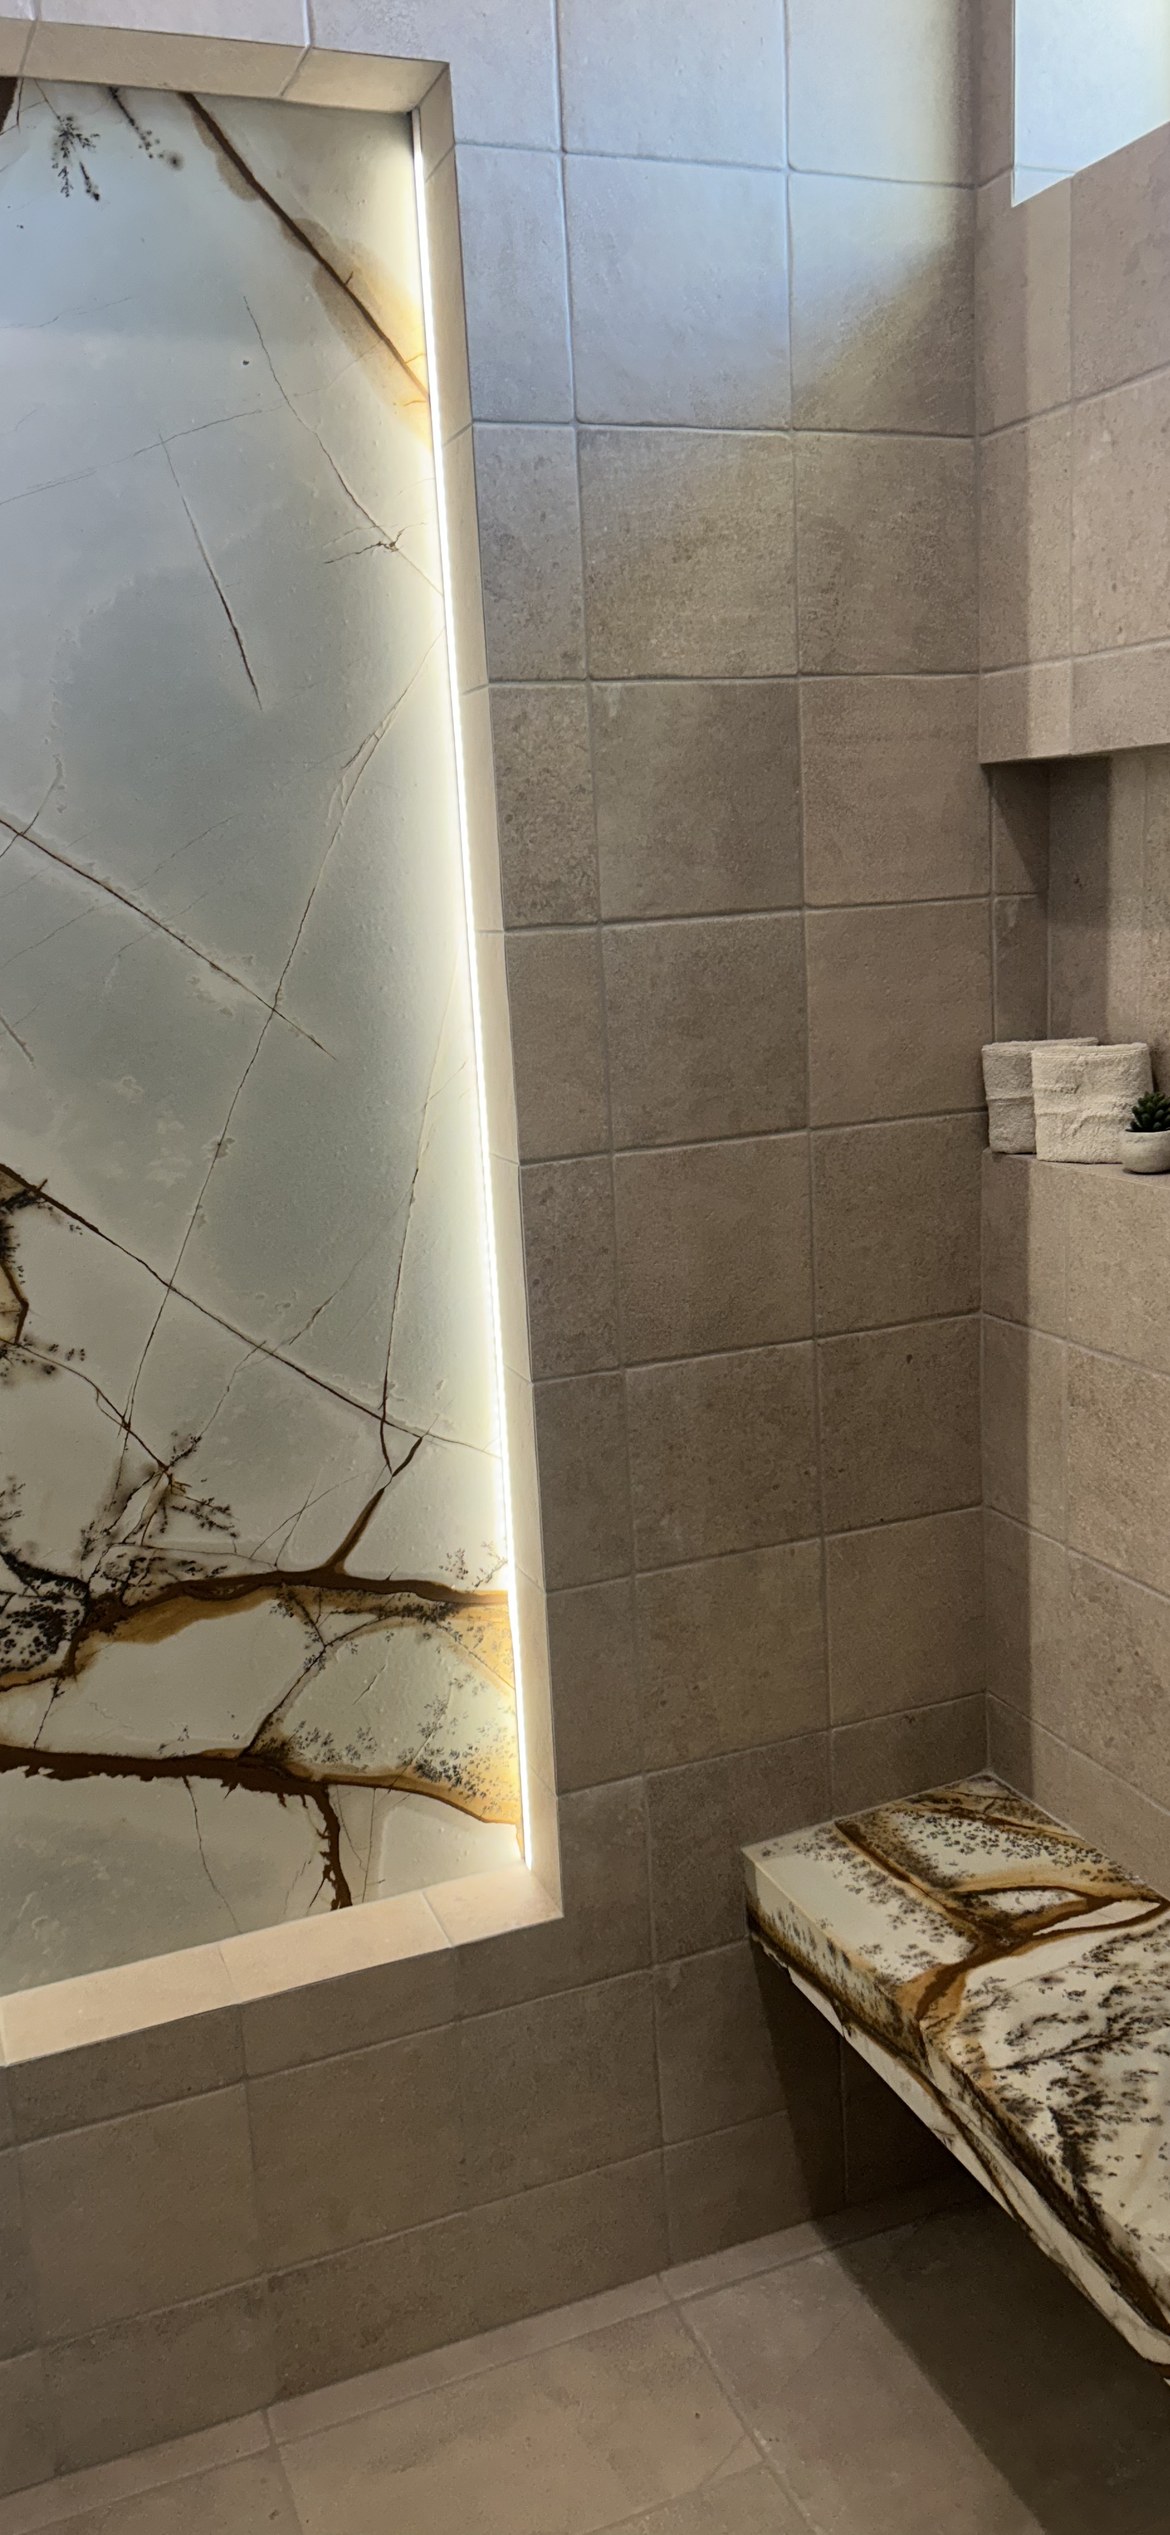
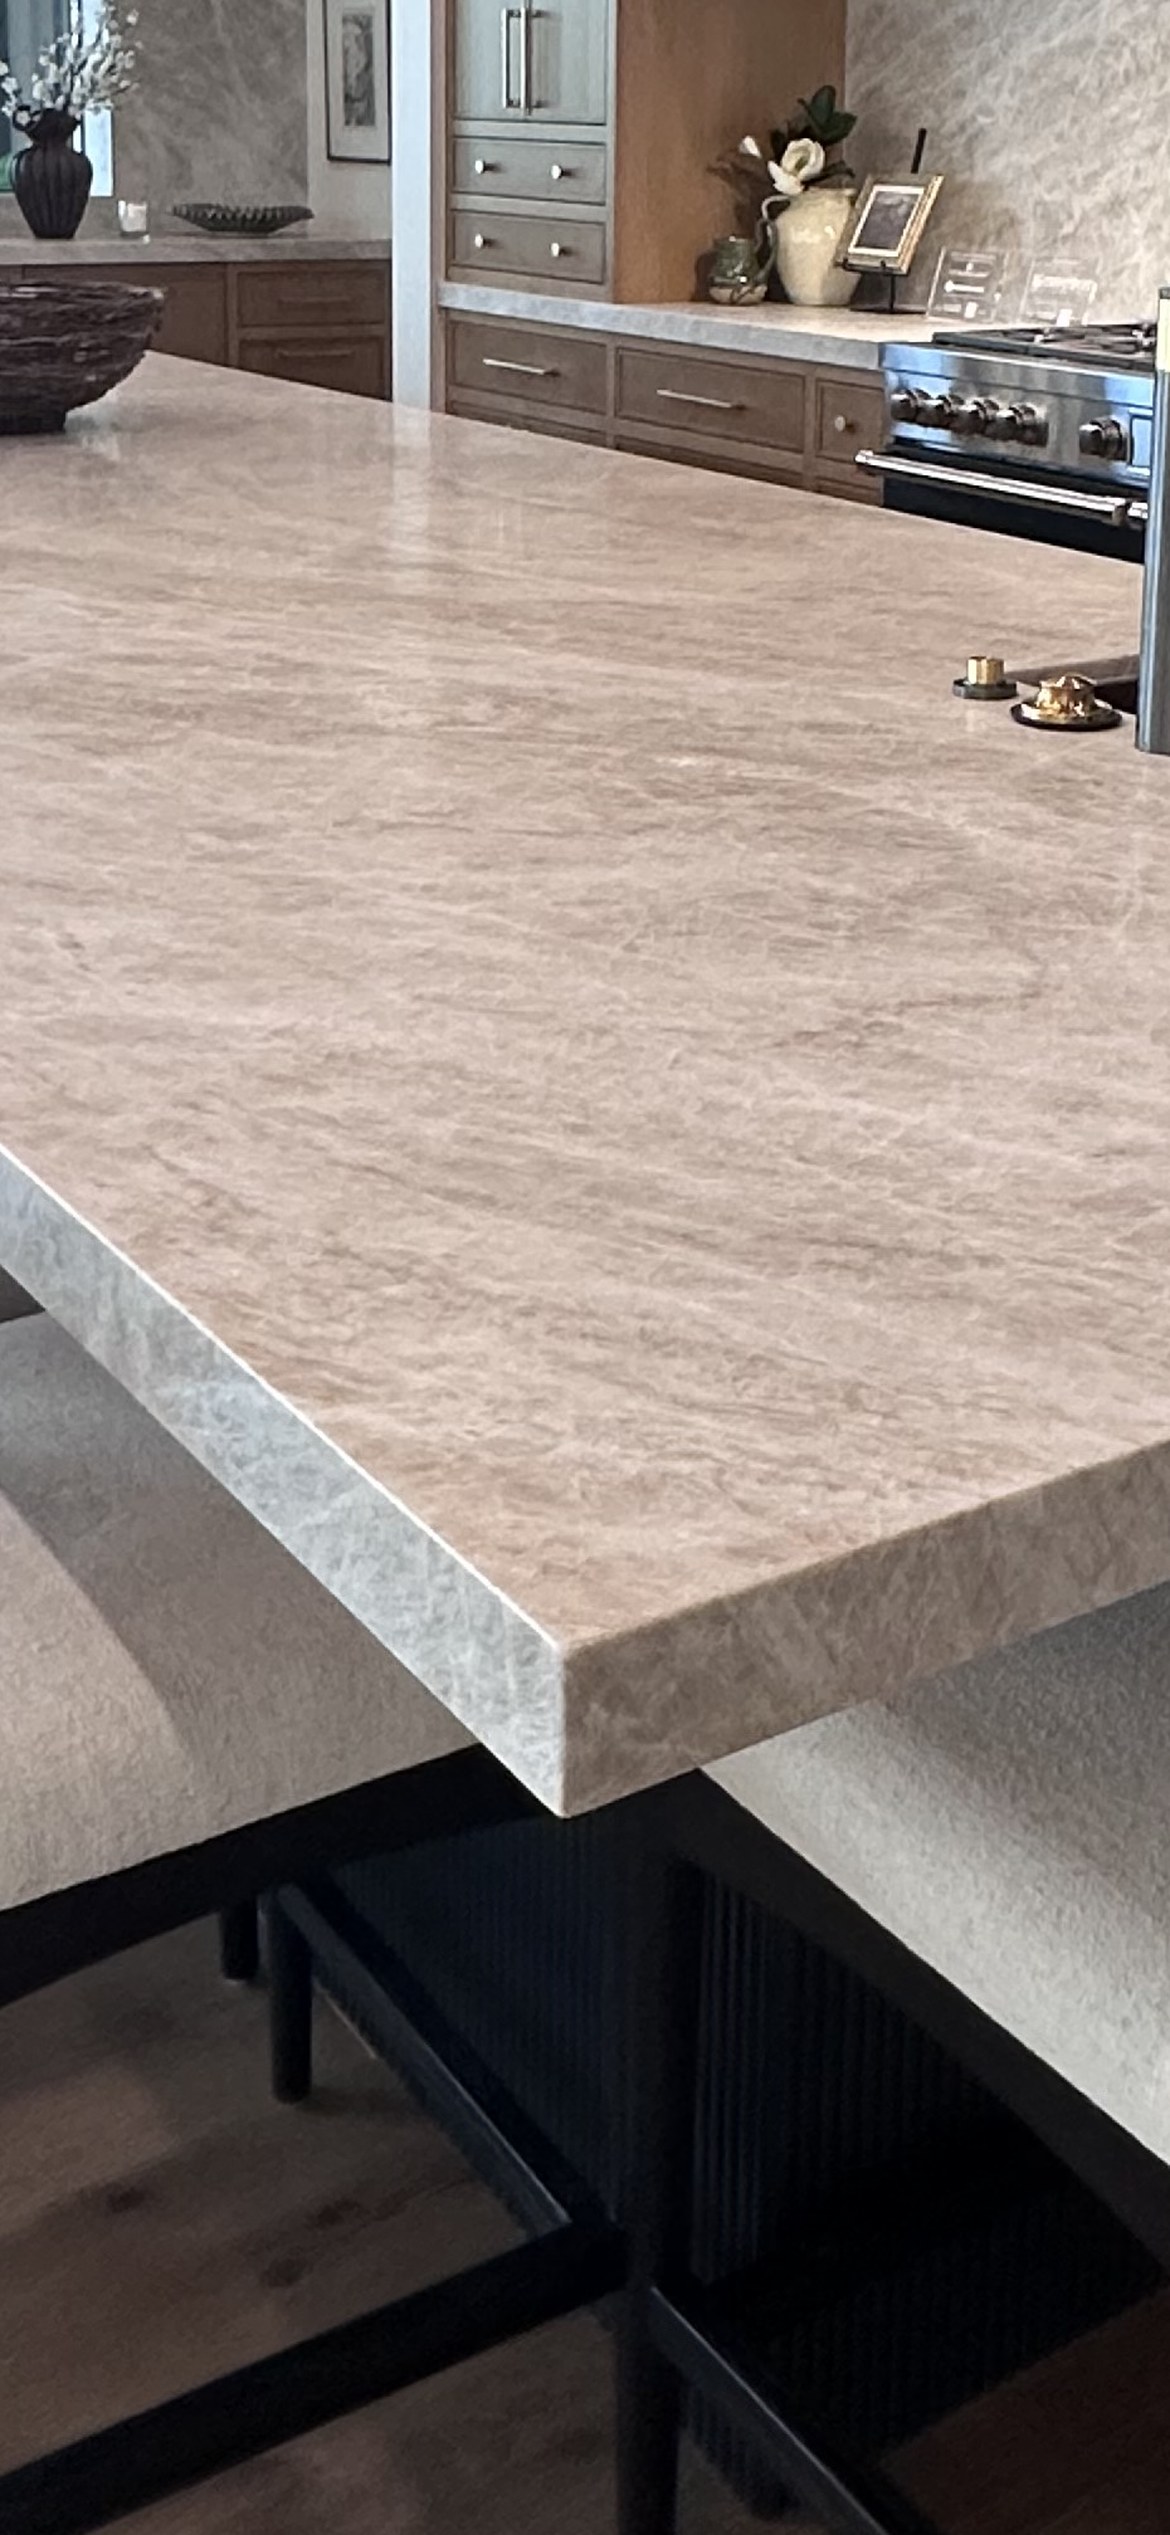
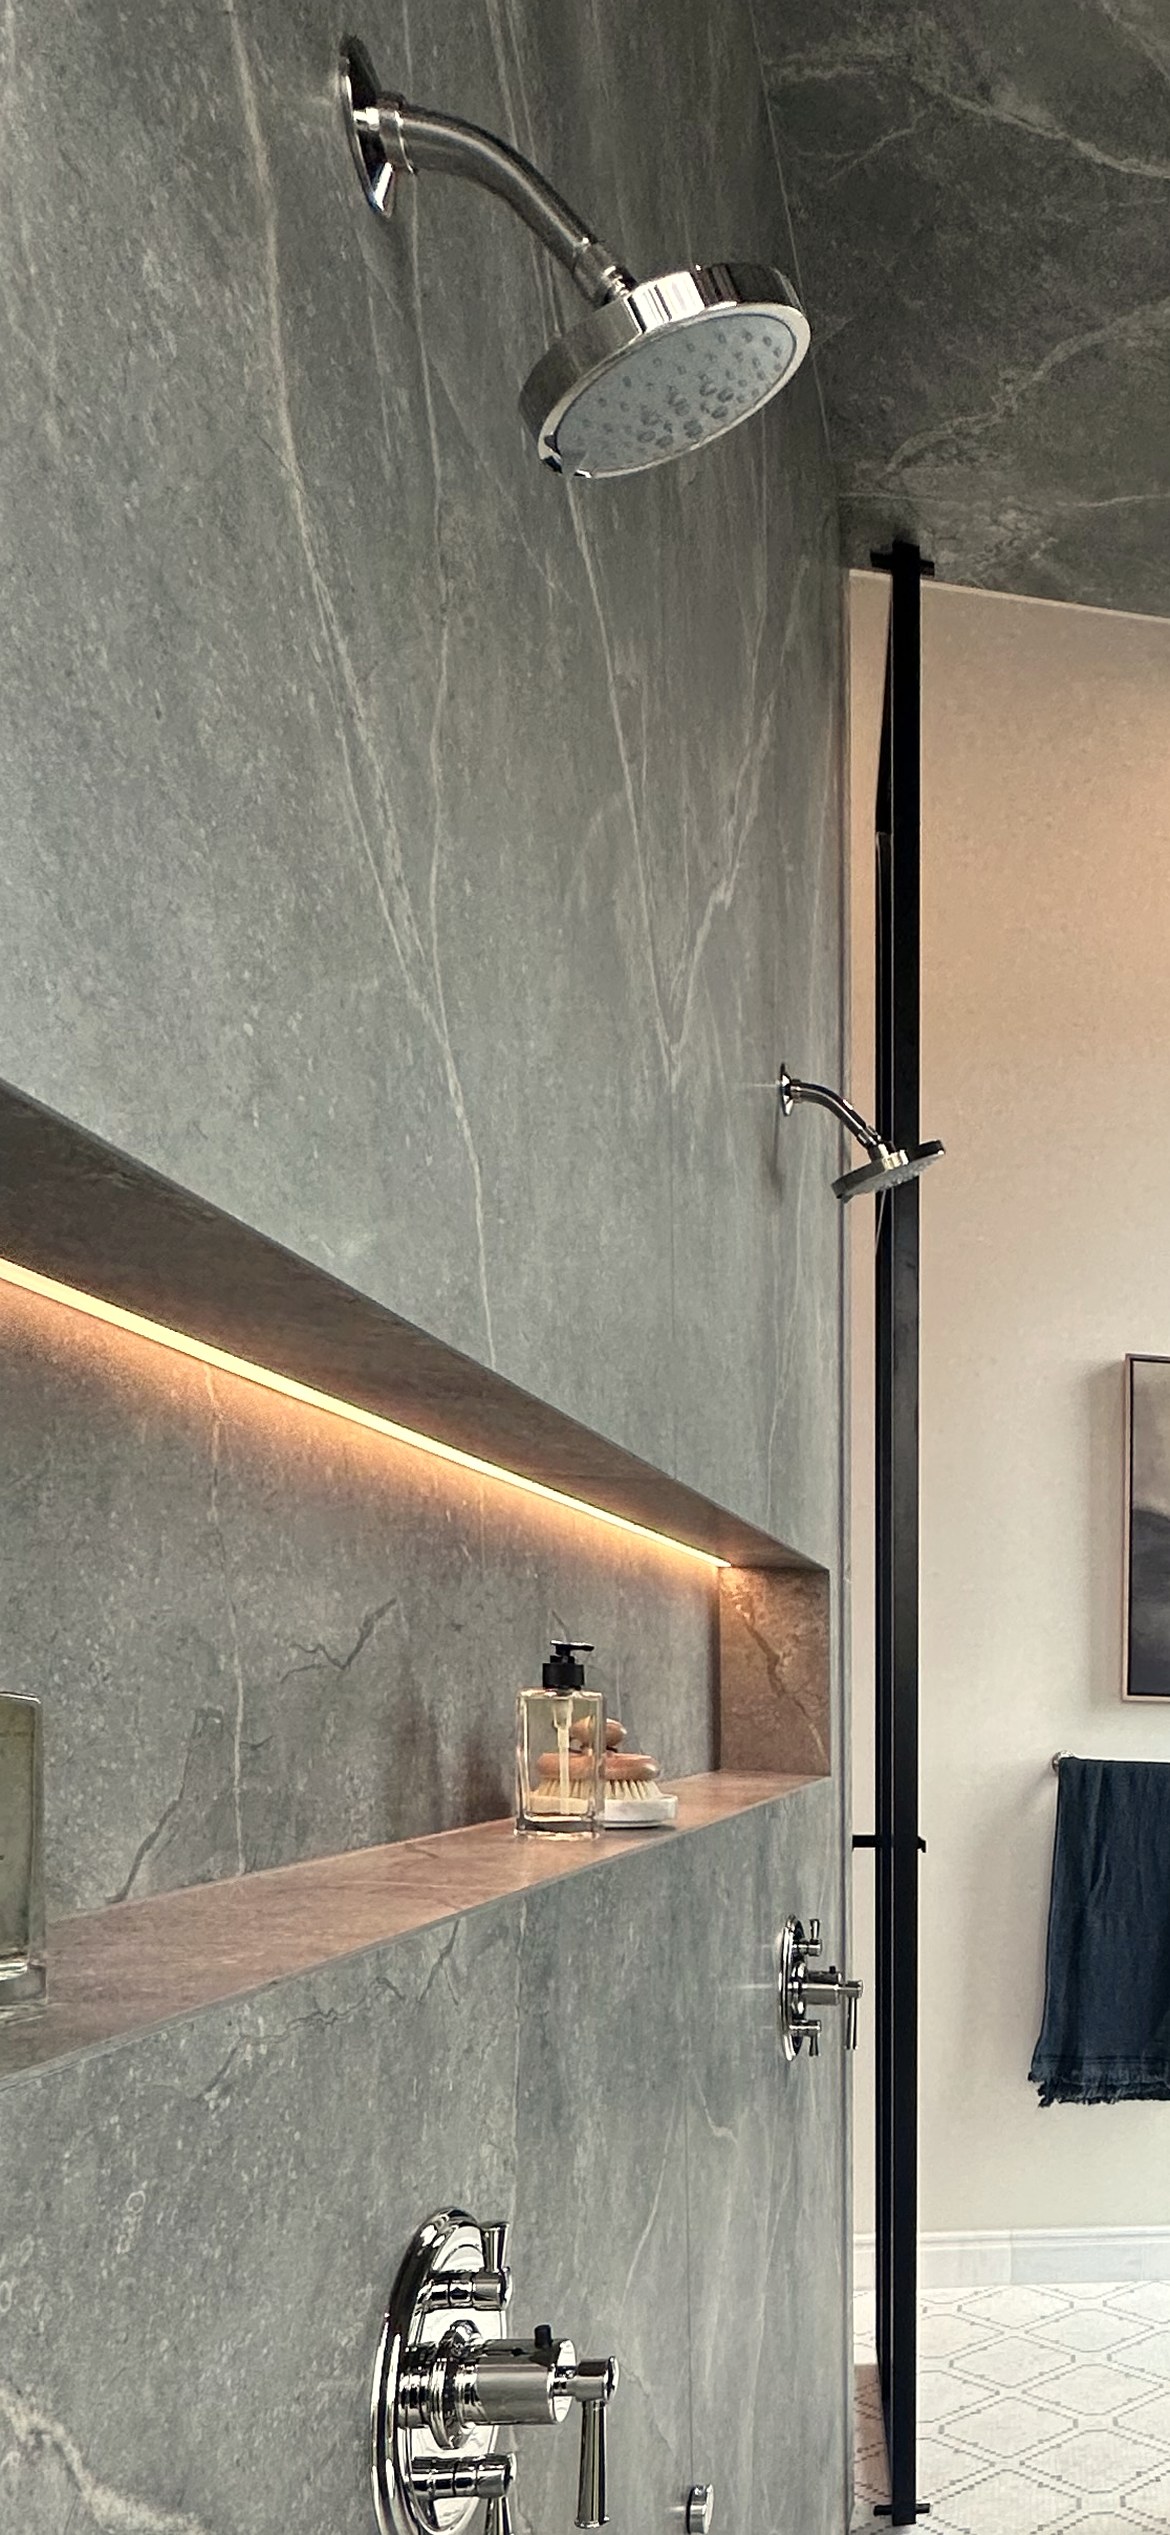
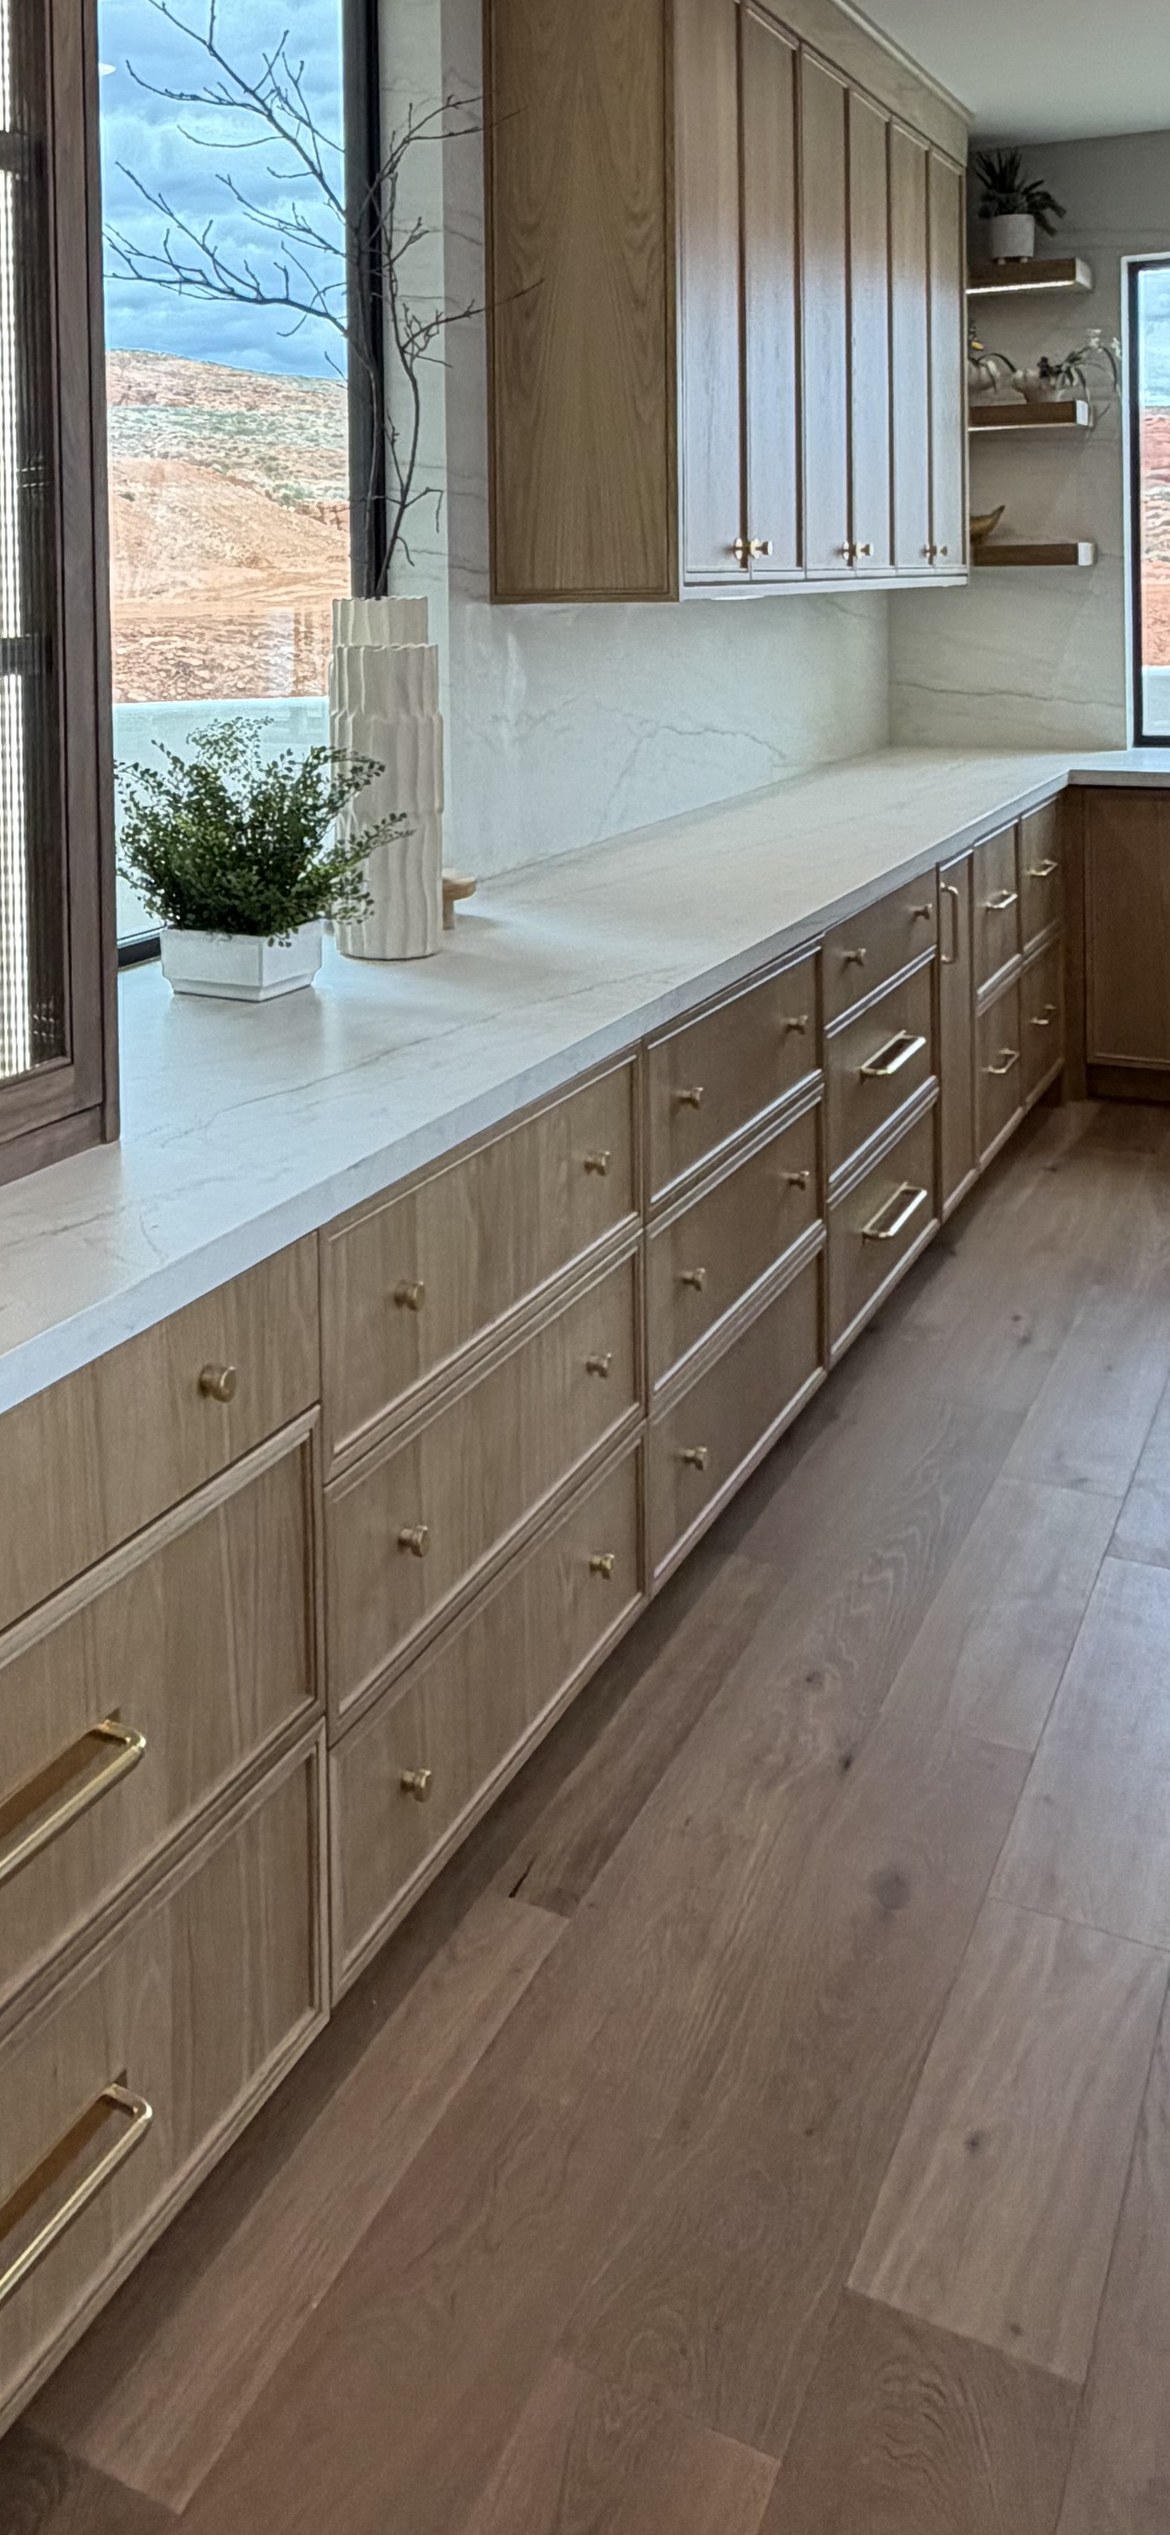
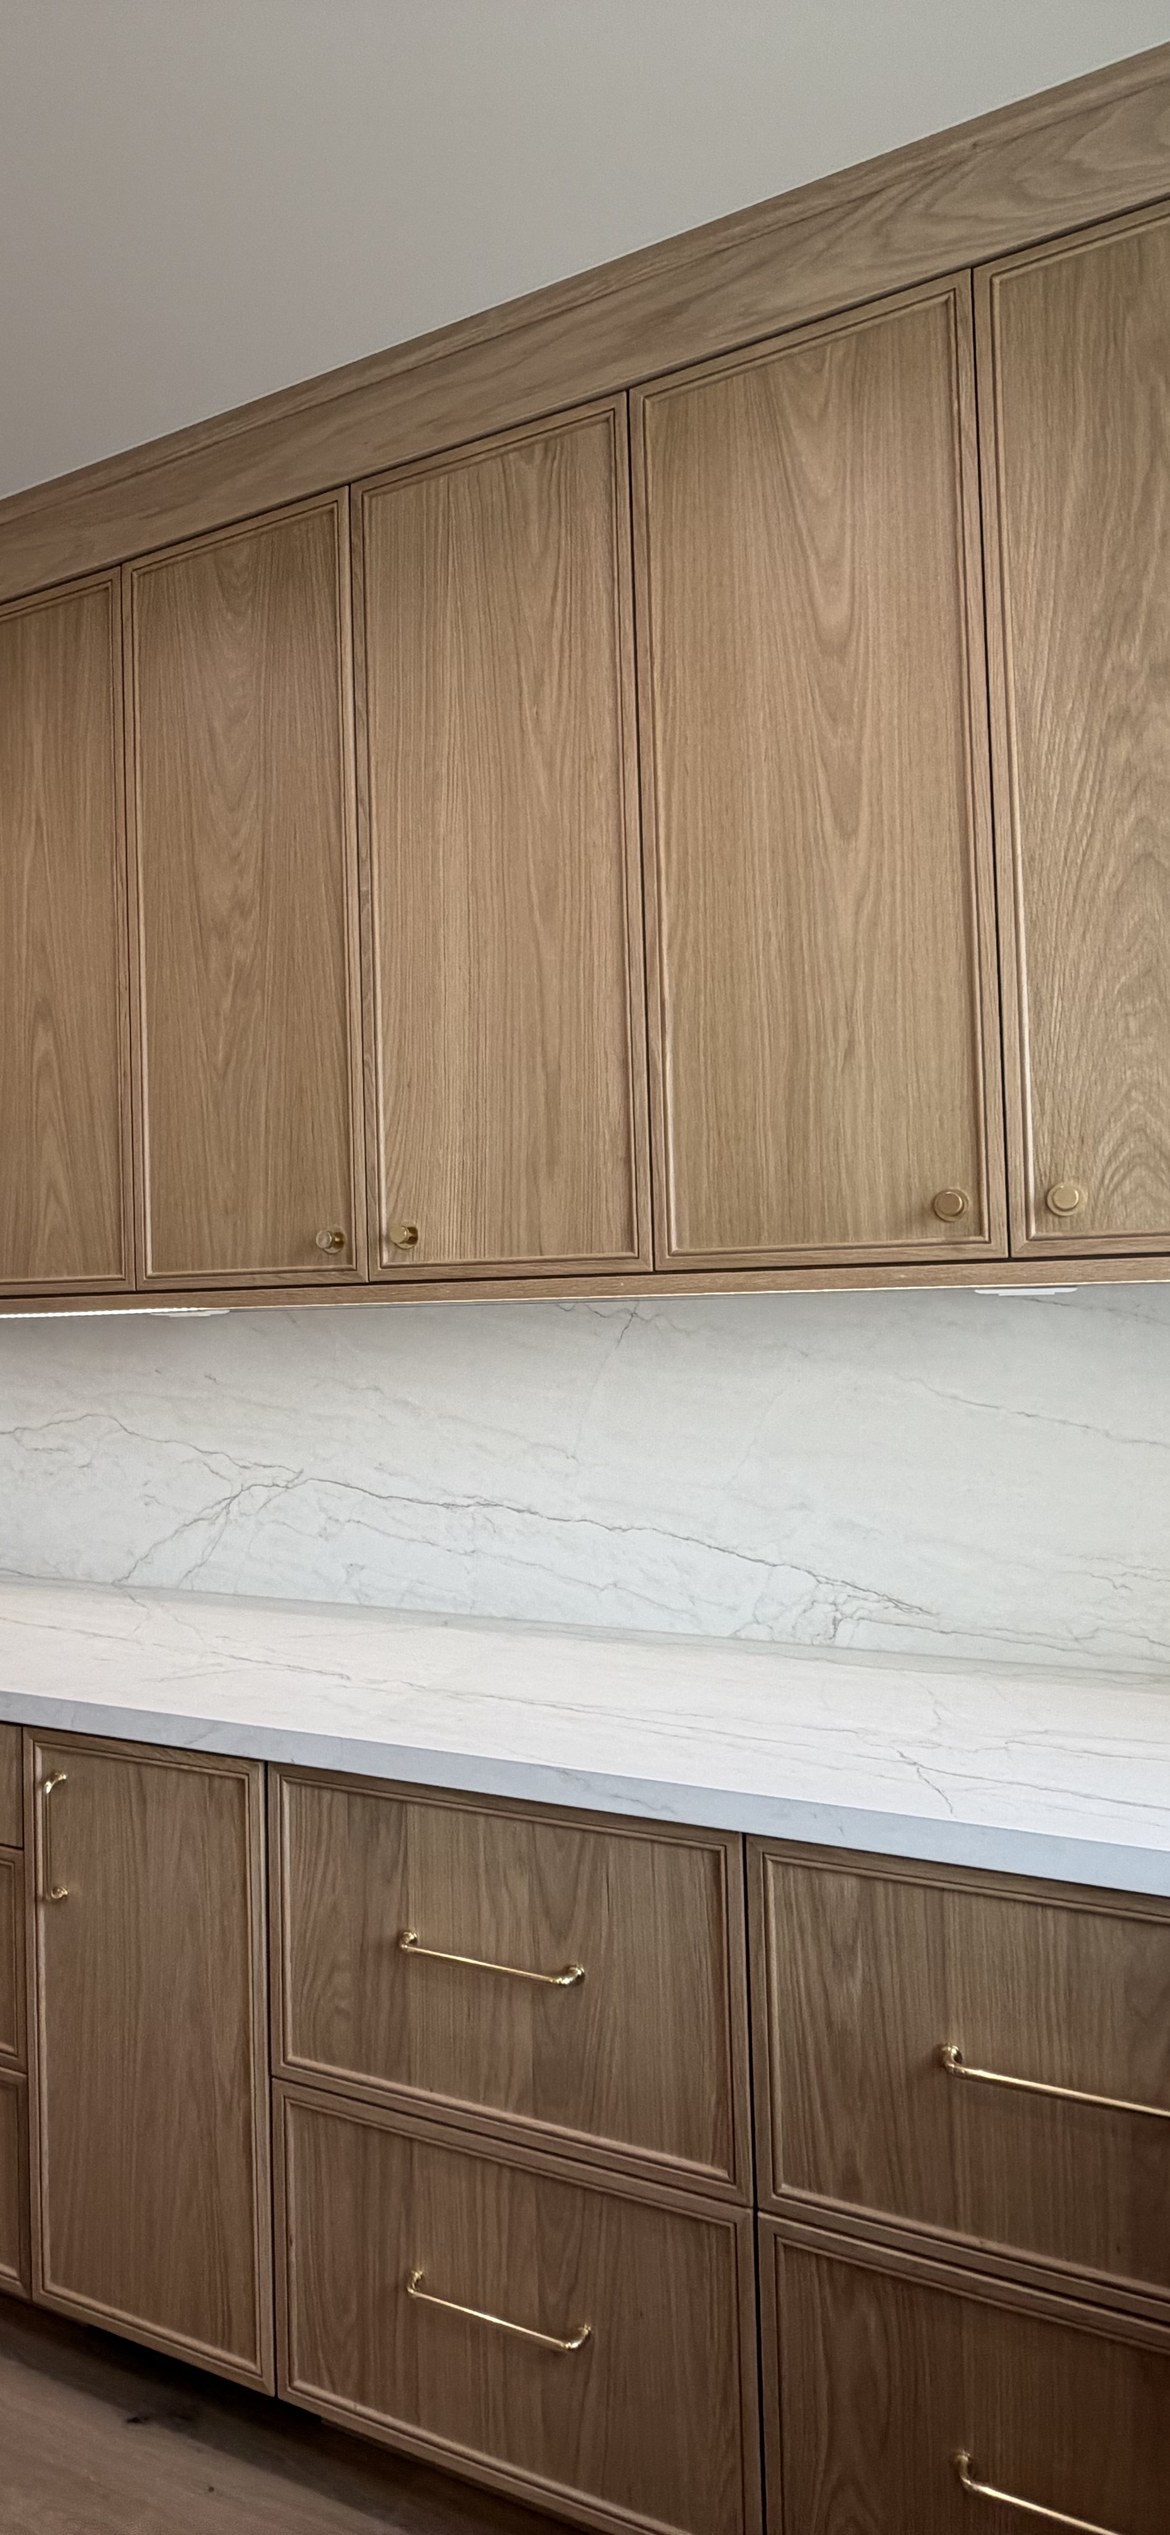
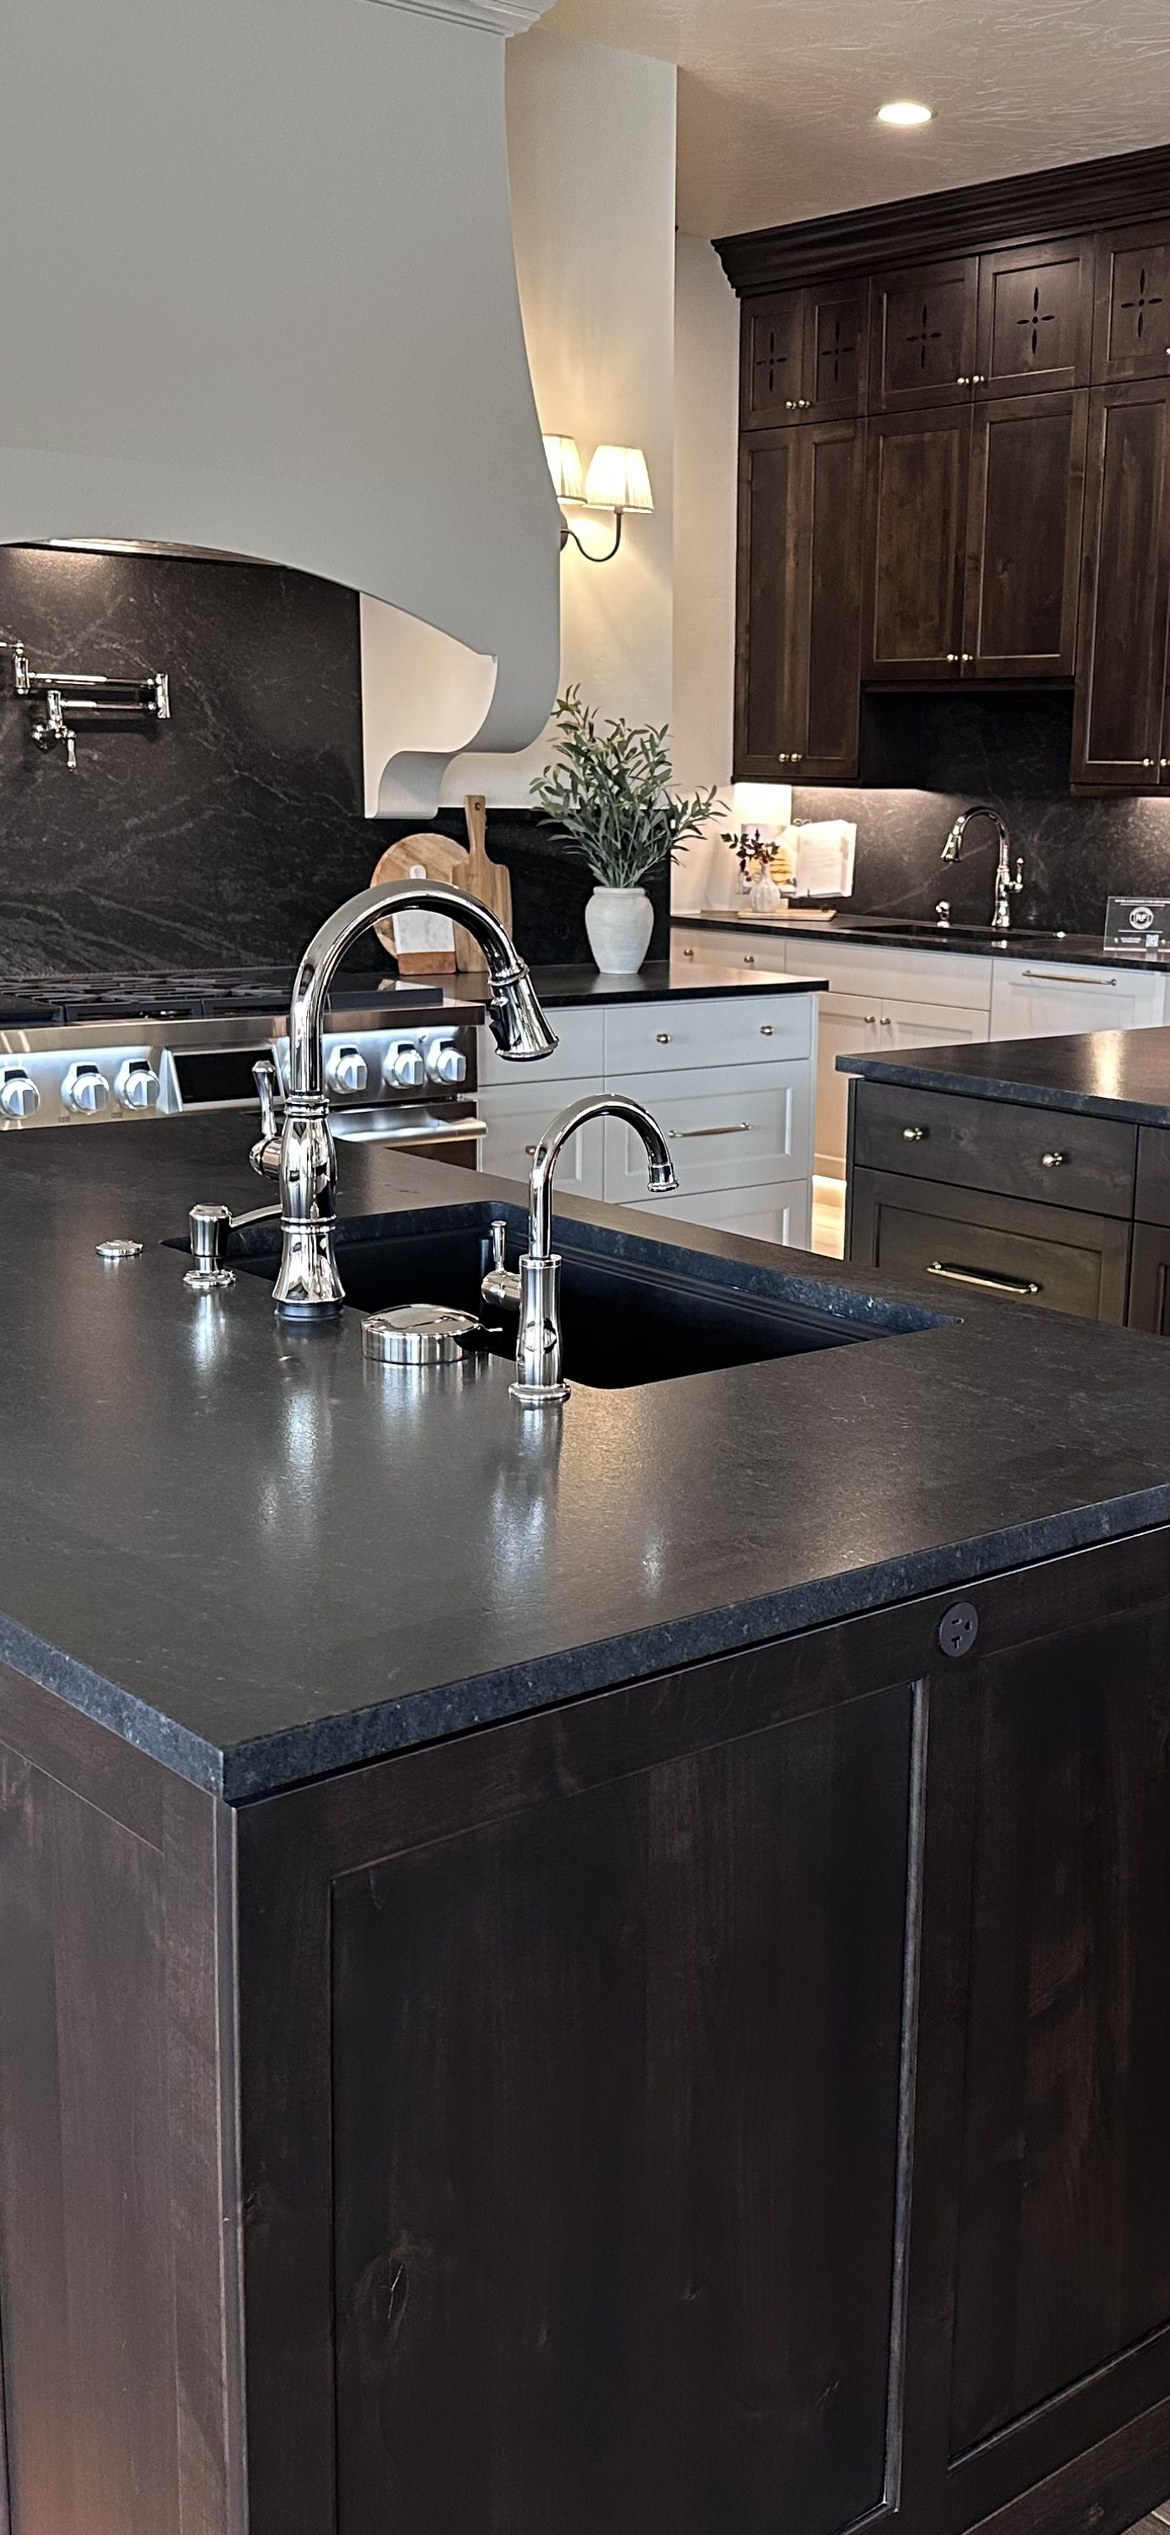
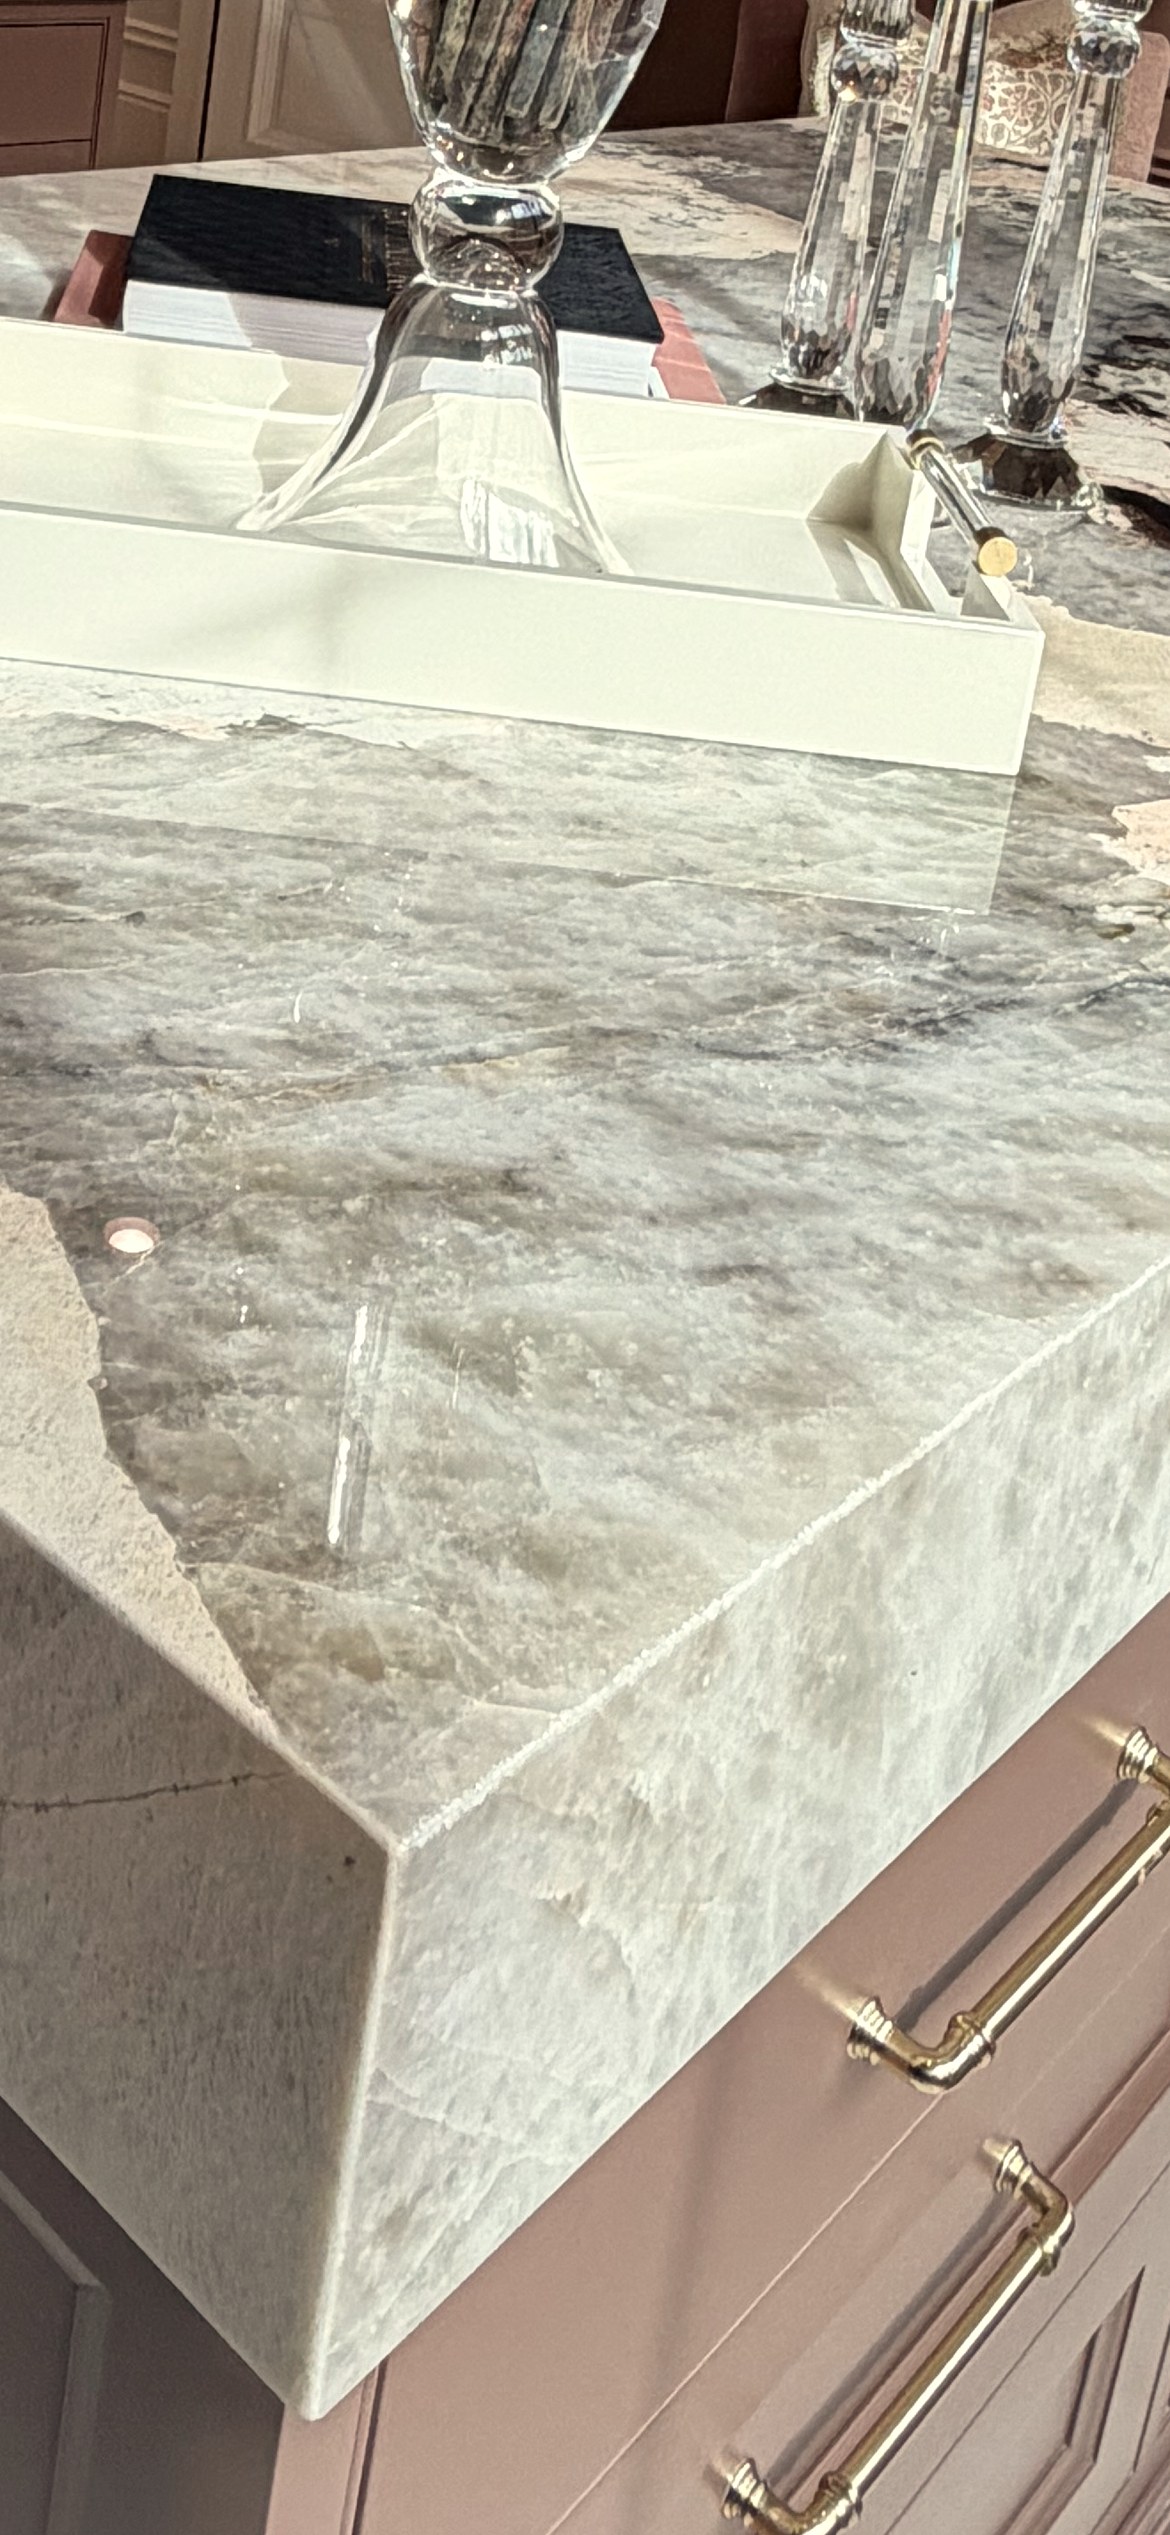
Every Renaissance countertop moves through the same six steps, whether it is one vanity or a whole Parade home. Here is how a slab becomes the surface you live on.
architecture
01
Step 1 of 6
Design
We start with the space.We talk through the room, the look you are after, and how the surface will be used. Layout, seams, overhangs, and edge style all get planned up front so there are no surprises at install.
layers
02
Step 2 of 6
Material Selection
Choose your stone, from any yard.Granite, marble, quartzite, quartz, or porcelain. Because we are independent, you can source your slab from any yard in the region and bring it to us. We help you match the material to how the space is really used.
straighten
03
Step 3 of 6
Template
Measured to the millimeter.Once cabinets are set, we template the space precisely, capturing every wall, corner, and cutout. This is where old-world care meets modern tools, and where a tight, seamless fit is won or lost.
precision_manufacturing
04
Step 4 of 6
Fabrication
Cut, shaped, and finished.Your slab is cut to the template on computer-driven equipment, then the edges are profiled and the surface finished by hand. Sink and cooktop cutouts are made here, not on site.
home_repair_service
05
Step 5 of 6
Installation
Set, sealed, and leveled.Our crew sets the stone, levels it, seams it cleanly, and seals it where the material calls for it. Most installs are done in a day, and we clean up before we leave.
verified
06
Step 6 of 6
Warranty
Standing behind the work.We back our fabrication and installation, and we tell you exactly how to care for your specific stone so it lasts. Questions after install are a call away.